The Brewie automated brewing system was one of the original fully automated brewing machines to market, and it’s packed with great features for both experienced and new brewers alike. It’s one of the only automated brewing systems that will brew a full five-gallon batch of homebrew. That means you’ll spend more time drinking and less time brewing.
All About the Brewie System
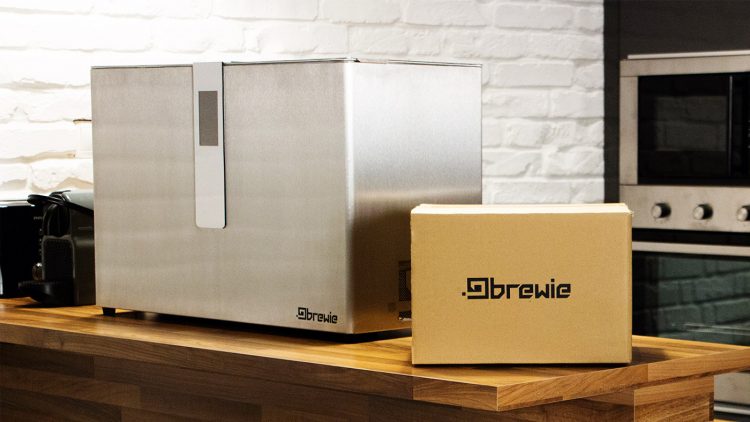
The brewie is a large (30” x 18” x 12”) system capable of brewing 5 gallons of beer at a time. Here are some key features of the Brewie brewing system.
5 Gallon Batches
As I previously stated, the Brewie is capable of producing 5 gallons of wort at a given time. This is larger than most automated systems which only produce between one-and-three gallons.
Direct Water Hookup
The Brewie hooks up directly to your water supply. This is a great feature that removes the extra step of hauling water to your system, which can be a chore with a 5 gallon batch. You should note however, that most water should be adjusted when brewing beer. Different levels of minerals (or lack of minerals) can cause issues with your beer’s flavor. With any brewing project, you should consider doing your own water adjustments.
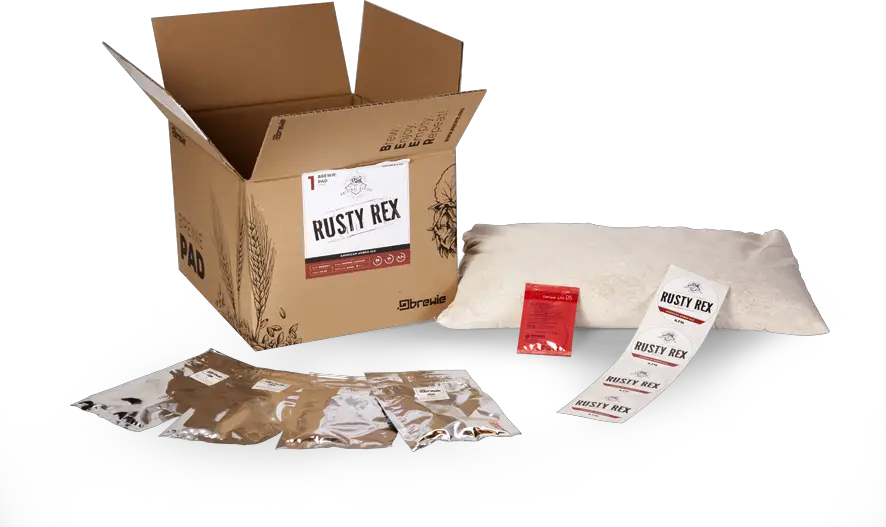
Brewie Pads OR Build Your Own Recipes
This automated brewing system allows you to create your own recipes from scratch or use their own Brewie Pads (think Keurig). This is a good feature, as if the maker ever goes out of business, you can still use the system to its full potential. It also lets you learn more about the hobby of home brewing. Remember that grains must be milled prior to brewing with them. It should also be noted that the Brewie system can not do first wort hopping or decoction mashes.
App in Development
The creators of the Brewie are working on a system control app which lets you create your recipes and run the brew day from your phone. The system also has an “offline mode”, so you don’t need to be connected to the internet to brew your beer.
Requires Extra Fermentation & Serving Equipment
The Brewie system is only constructed for creating the beer wort, and you will need to supply your own fermentation equipment. If you’re unsure about what you need, check out our equipment article. You’ll also need your own kegging or bottling setup. ( https://brewfuse.com/equipment-list-everything-need-start-homebrewing/ )
Self Cleaning
Once the brewing process is complete, the Brewie is self-cleaning, so there is less chores involved on brew day.
Control Your Own Fermentation Schedule
Since you are fermenting like a traditional homebrewer, you can decide how long the beer needs to sit before packaging. This is a great feature since some automated brewing systems tout your beer being finished in 10 days, which is really stretching it. Instead, you can go at your own pace, which can lead to a better finished product.
How the Brewie Makes Your Beer
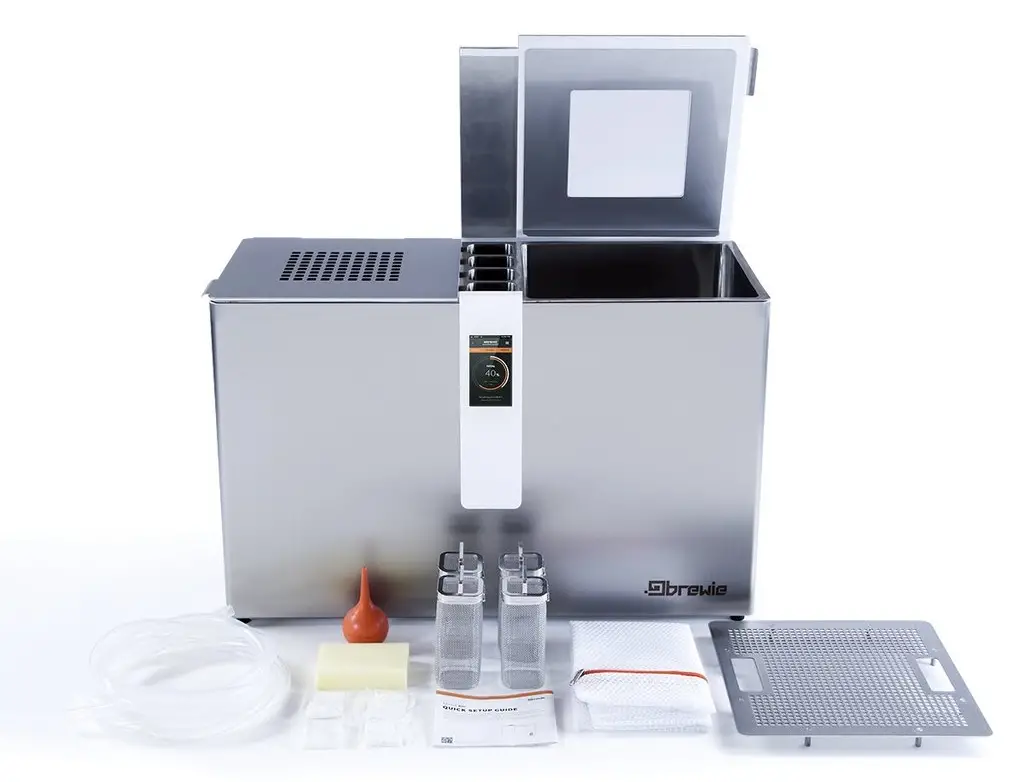
The first thing to do is set up your Brewie system for brewing. Place the false bottom in the bottom of the brewie, then load the malt and hops into their respective areas. Remember, your grain should be crushed before use.
If you aren’t able to hook your Brewie up to the water inlet, you do have the option to manually add water. If using the inlet, you can set the amount of mash and sparge water for each individual brew from the control panel.
Once all of the ingredients have been added, choose the recipe from the control panel (if you ordered a pre-built Brewie recipe), or input your custom recipe (if you’re using your own ingredients).
The Mashing Process: Once you press start, the Brewie begins heating the mash water you added to the ideal temperature. After it hits the target temperature the mash water is pumped over your grain. It is then recirculated over itself to create movement inside the mashing vessel (this action helps extract more sugar from your grain).
The wort is then pumped back into the tank that originally held your preliminary mash water. This compartment becomes your boil kettle. The system brings your wort to a boil, adds hops as needed, then cools the wort to your desired temperature. It will alert you once the temperature is reached and the wort is ready for transfer to your fermenter.
Comparing the Brewie to the PicoZ
Another new addition to the automated brewing system family is the PicoBrew Pico Z series. Let’s see how the PicoZ stacks up (get it?) to the Brewie system. For this comparison, we compare the Pico Z2 which has the same batch size as the Brewie. It should be noted that the PicoZ can brew anywhere from 2.5 – 10 gallons depending on how many units you have.
| Brewie | Pico Z | |
|---|---|---|
| Batch Size: | 5 Gallon | 5 Gallon |
| Custom Recipes: | Yes | Yes |
| Prefab Recipes: | Yes | Yes |
| Grain Capacity: | 17.5 lbs | 18 lbs |
| Power Requirement: | 120V (20A) | 240V |
| Water Hookup: | Yes | Yes |
| Simultaneous Recipes: | No | Yes |
| Prices: | ~$2,299 | ~$4,000 |
Side-by-side, both of these automated brewing systems are very close in terms of features. The three standout aspects are the price, power consumption and ability to brew different recipes simultaneously. The PicoZ can brew 2 batches at the same time, but requires 240V power (less accessible than a standard 120V hookup). The Pico Z2 is also significantly more expensive for the extra feature of brewing two different beers at the same time. The PicoZ is modular and can be expanded on if needed, but it would require extra investment.
The Brewie is packed with great features and customizability, especially for the price that some units charge for restricting 5 liter batches. If you’re serious into making some awesome homebrew but don’t have plans to really scale up your production beyond the 5 gallons, I highly recommend the Brewie over the Pico Z line.
Hands-on Test
Stay tuned in the coming months for our full hands-on test of the Brewie machine. We’ll update this article with its performance and walk through of our first brew.
Leave a Reply