I’ve said it before but Brewing in a Bag (BIAB) is the easiest and cheapest way to start brewing all grain. It only takes a few inexpensive supplies and you can start brewing amazing beer, but that’s just the first step. What if you wanted to kick it up a notch beyond the basics? Today I’ll share five upgrades to that BIAB system to improve your process and level up your brew in a bag game.
Making upgrades to your system can make all the difference – whether that’s in the ease of the brewing day, the quality of the final beer or just the level of enjoyability you get out of brewing. The list today serves as optional but recommended upgrades – each one has their pros and cons, but they’re all intended to make your brewing life better. If you’re not familiar with brewing in a bag please go check out my other brew in a bag blog posts.
BIAB – getting started.
Basically, brew in a bag (BIAB) is just like making a giant batch of tea, the crushed beer grains go into a bag and are steeped in hot water. Extracting flavor, color and fermentable sugars – that sugary liquid is called wart – which is the unfermented beer. Brewing all grain beer gives you the power to make any beer style you want on a budget.
Usually, to get started all you need is a pot and a brew bag. So how do we take it up a notch – taking this basic setup and making it epic? So, you can take on any crazy ideas you have? Let’s jump into upgrade number one and I’ll show you how.
Tip number one – increase pot quality and size.
If you’re starting brewing (BIAB) from no previous experience, then you’re probably just using a pot that you have in your kitchen or a very cheap and thin one which is totally understandable. You have to start somewhere and before jumping in head first into the hobby, it’s better not to blow your life savings on expensive gear.
But now that you have a few more brews under your belt, you can see yourself doing this a lot more and it’s time for a new pot.
The two most important details to consider when picking on a pot are its size and the features it has. Size is determined by the amount of beer you want to brew; a good rule of thumb is to double the volume of beer you want to end up with.
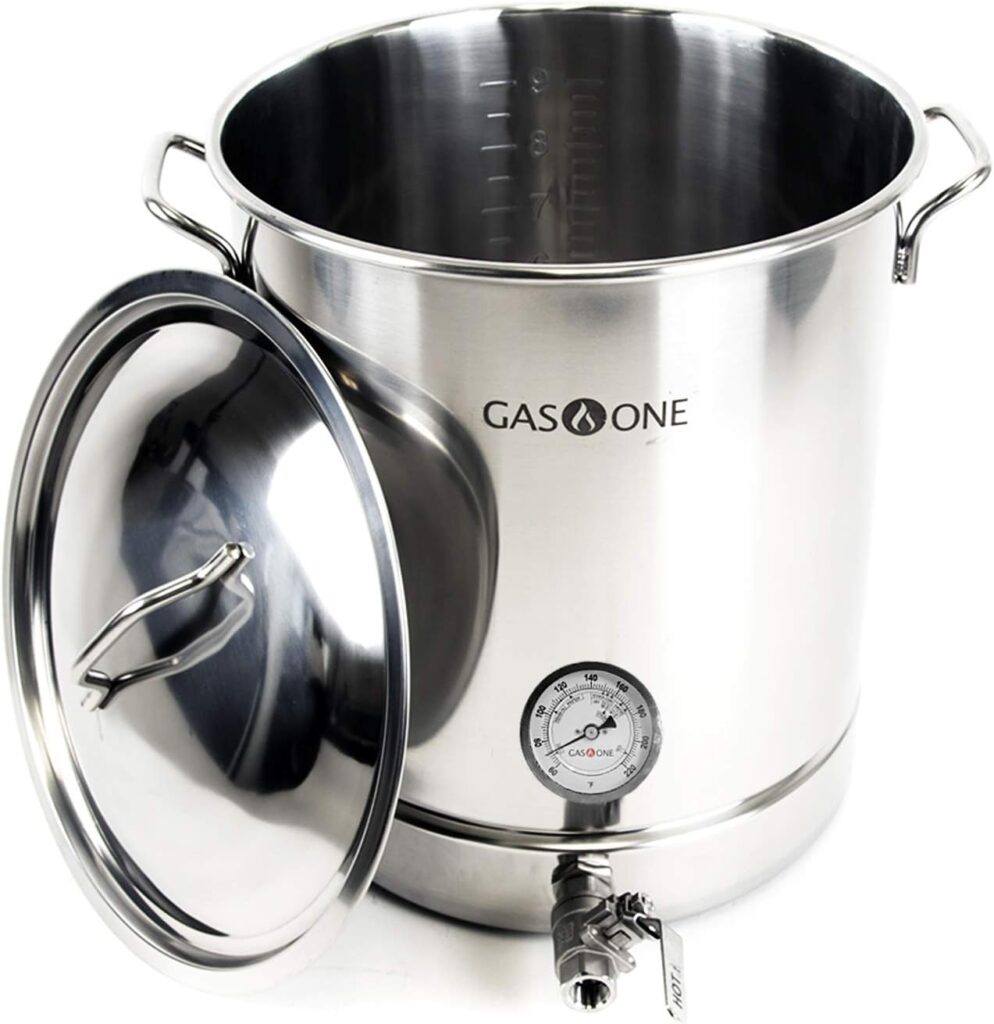
So, if you’re planning to brew five-gallon batches then go for a 10-gallon kettle. This will give you enough room to mash all the grains and water at once without overflowing the pot or needing to add additional water later.
Then look at the features of the kettle. One of the most useful features is the thickness of the pot. A thick-walled pot will hold temperature better, meaning a more consistent mash temp so you don’t have to turn on the burner, or stir the mash as often. Next look for some sort of port, so you can add a valve onto it to easily transfer out of the pot without having to lift it up or tilt it.
Some pots even have two or three ports, which you can add a thermometer onto or other useful accessories. Luckily if you’re making the upgrade to a quality beer brewing pot, they’ll come with many of those features.
Tip number two – get a new BIAB bag.
The brew bag is one of the least expensive tools you need to get started and if you take care of yours it can last for many batches of beer. I’ve held on to one for almost two years until it started to get holes and snags.
So, when you do hit that point it’s time to finally upgrade the bag. You could easily just replace the bag with the same one you had, but why not make it a little extra investment in a quality bag. Perfectly designed for brewing a bag.
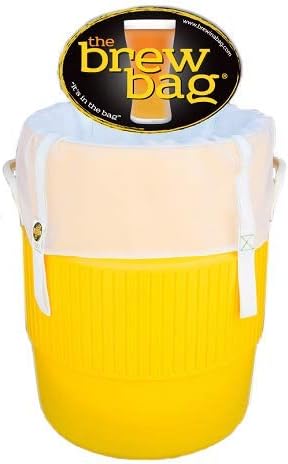
The Brew bag, is one such bag that is made for brewing beer. Everything from the type of mesh, to the heavy-duty straps make it ideal for brewing in a bag (BIAB).
It’s not going to drastically improve your brewing, but hopefully it’ll last quite a bit longer than your old one. And while you’re at it, make sure to get one to fit your specific kettle.
They have a bunch of different sizes but you can also make a specific size bag if your vessel is oddly shaped. You can always jump over to a brewed basket, which is made from metal and then can easily be pulled out of the kettle. I’m sure with proper care, a metal basket will last a lot longer than a cloth bag.
Tip Number 3 – Invest in a pulley
If you’ve brewed a few big stouts, double IPAs or other large ABV beers, then you probably know one of BIAB’s biggest downfalls – bigger beers mean heavier BIAB bags.
It can certainly be straining.
And that’s where a pulley becomes extremely handy. It essentially doubles your strength or at least considerably lightens and supports needed to lift up the bag.
And a good pulley will also have stocking capabilities, so that as you lift up the bag it doesn’t just come crashing down when you let go. All you need is a beam or some strong anchor point to attach it onto. Then clip it onto your bag or basket and lift up, this also helps it drain out easier and gives you a good chance to squeeze the bag for all it’s worth. Although I’ll miss my trusty cookie rack – we had such fond memories.
Tip Number four accessorize with the Hangover.
The Hangover (They aren’t a sponsor) is like the Swiss army knife of brewing tools and has quickly become one of my favorite upgrades. If you’ve never heard of The Hangover, it’s a product that allows you to add ports onto your Kettle without having to drill or permanently modify the pot.
It attaches onto the lip of the kettle and from there you can go as crazy or add on as many attachments as you want. I was looking for a way to recirculate my mash. To help keep that mash temp consistent and potentially improve efficiency – much like you see on a claw hammer or other all-in-one systems. With a hangover you can do just that by adding a sparge arm and then pumping wort
through it to recirculate the mash.
Or if you wanted to create a whirlpool, by adding hops after the boil and extract all those fruity aromas and flavors, there’s an attachment for that too. They also have hop spiders, trub dams and even an immersion chiller accessory which makes it one of the most versatile upgrades you can make.
I’m all about tools that give you more than one use, especially when trying to save space in a small home brewery.
Tip Number five – go electric.
Electric brewing is a logical progression and seems like the way of the future for home brewing. But it does come at a price.
In my mind for what you get, I would say it’s definitely worth it. Electric brewing systems help regulate mash temp automatically for you, so you don’t have to worry about what temp your mash is at, or how it might affect your efficiency.
Also, many of these electric-systems let you preheat your strike water. What is “strike water”? Strike water is a term used in brewing beer that refers to the water that is added to the malted grains, that then transforms into the mash.
Meaning you can just hit a button and let it heat up while you prep other things for the brew day.
Not to mention the ability to do kettle souring, by keeping the wart warm at the preferred temp while it’s sours. It really does simplify and automate a lot of the manual aspects of brewing.
But if going full electric is completely out of the budget, then maybe consider going partial electric. There are these things called heat sticks that you can get and using the hangover or some other way of attachment adjust the electric element for maintaining the mash temp or for electric heating in general.
Similarly, you can try adding a sous-vide stick to your brewing to try and help keep those temps consistent.
Whether it’s a small change or a big one, making the right upgrades can make all the difference in your brewing experience. I’m always looking for ways to simplify the process. Cheers!

Leave a Reply